Heroku is a cloud platform that lets companies build, deliver, monitor, and scale apps — they're the fastest way to go from idea to URL, bypassing all those infrastructure headaches.
First thing first, create an account on Heroku. Then continue with this tutorial
If you don't have Heroku CLI installed on your local machine, use this link https://devcenter.heroku.com/articles/heroku-cli
We've to install git, if you don't have git install, then visit this link https://git-scm.com/
After installing Heroku, open your terminal and type heroku. If it shows you a list of heroku command codes, that means your installation was successful.
Open your project folder, the folder where your manage.py file is located, and open it with vs code. In your vs code open a new terminal, activate your virtual environment, and log in to your heroku account from the terminal by typing this code
heroku login
then you'll see this
heroku: Press any key to open up the browser to login or q to exit:
After you've login into your browser, you can go back to your vs code.
Let's install one more package that we're going to use when our application is deployed.
pip install gunicorn
Now, let's create a file called the requirements.txt file.
requirements.txt is a file that holds all the dependencies that we're using in our application.
The requirement file is also how heroku knows that it's a python application.
To make the requirements.txt file, run this code
pip freeze > requirements.txt
Now, let's initialize an empty git repository
git init
Let's add a file called .gitignore, this's where you'll add all the files you don't want git to deploy. e.g
you can decide not to deploy your database.
I use this link https://www.toptal.com/developers/gitignore to generate .gitignore file for any language I'm writing on.
Let's commit our codes now.
git add -A
git commit -m "your commit message"
Let's create heroku app name for our project. e.g devjoseph
after you've successful created the site name you see a domain name like this devjoseph.herokuapp.com in your terminal.
So let's create a site name
heroku create testdjango10101
you'll see this
Creating ⬢ testdjango10101... done
https://testdjango10101.herokuapp.com/ | https://git.heroku.com/testdjango10101.git
Let's open our new site with this
heroku open
you'll see this homepage

Now, let's deploy our code to heroku
git push heroku master
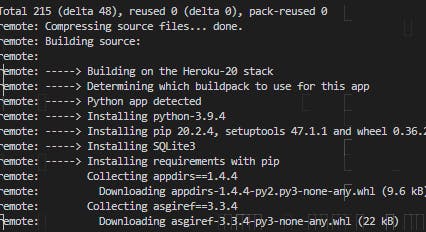
you should see something like this

After successful deployment, refresh your previous heroku page that you open.
mine is testdjango10101.herokuapp.com
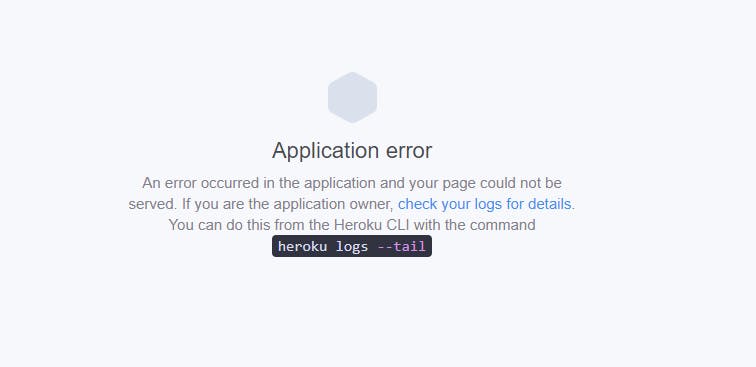
When you refreshed it, you should see this page

run this code to see the error
heroku logs --tail
you'll see this error

The error says "No web processes running"
The reason is because we haven't told heroku how to run our application.
So, let's create a heroku file called "Procfile"
In your project directory, where you have manage.py, create a file name Procfile, no extension just Procfile
add this code
web: gunicorn crud.wsgi
changed "crud' to your folder name. the folder that has settings.py file and wsgi.py. change crud to it.
Now, let's commit and push our code to heroku
git add -A
git commit -m "added heroku Procfile"
git push heroku master
Now, refresh your site, you'll see this page

you're seeing this because your DEBUG = True in your settings.py file, In this file add your heroku site urls to the allow host list.
it's should look like this
ALLOWED_HOSTS = ['testdjango10101.herokuapp.com']
commit your changes and push to heroku
git add -A
git commit -m "added url to our settings allowed host"
git push heroku master
refresh your page, you should see something like this

Reason because, heroku doesn't make use of our local host database, all your database files will not be available after you've deployed your app to heroku, but the good news is that heroku provides us with a free Postgres database
if you want to see your databse information, run this code
heroku pg
information about your database will be shown to you, and if it returns
⬢ testdjango10101 has no heroku-postgresql databases.
then create your free heroku postgres database with this code
heroku addons:create heroku-postgresql:hobby-dev
Now, let's install a package that helps setup our django app to interact with heroku database and automatically does the connection of our apps.
pip install django-heroku
After you're done installing that, open your sittings.py file and this code at the top
import django_heroku
at the end of your settings.py codes, add this line of code
django_heroku.settings(locals())
the turn your debug to false
# SECURITY WARNING: don't run with debug turned on in production!
DEBUG = False
Let's update our requirements.txt, because we installed a new file
pip freeze > requirements.txt
Now, let's commit and deploy our code
git add -A
git commit -m "added django-heroku file"
git push heroku master
You'll still get a bug because our database has not been added. run this code to migrate your database
heroku run python manage.py migrate
then create your admin login
heroku run python manage.py createsuperuser
Refresh your site now. your django app has been deployed successfully.
